Disposal Maintenance Tips
Your kitchen sink disposal tackles tough food scraps daily, clearing your sink and cutting down trips to the trash. Taking care of it regularly helps it last longer and stops clogs, leaks, and weird sounds that usually mean plumber trouble is coming. Keep it happy, and it keeps your kitchen running smooth without surprises. Curious how simple habits can save you from costly fixes? Keep reading to find out.
This article lays out clear, practical disposal maintenance tips you can use today. Read through the steps and examples and pick a few habits to add to your weekly routine. Small changes prevent big problems and keep your kitchen running smoothly.
What regular maintenance does for your disposal
Routine care does three main things. It avoids clogs that cause backups. It reduces wear on the motor and blades. It keeps odors from forming in the drain. When you treat the unit as part of your kitchen system rather than an item you only think about when it fails you will find fewer surprises and lower repair costs.
Consider the cost of a simple replacement part versus the cost of a full unit swap or water damage from an unattended leak. A quick visual check each month and a few simple cleaning steps can extend the useful life of your disposal by years while keeping performance steady.
Daily habits that protect your unit
Good daily habits reduce stress on bearings and the motor. Follow these simple routines and your unit will reward you with fewer jams and less odor.
- Run cold water while the disposal is on and for a few seconds after you switch it off. Cold water keeps fats and oils solid so they are chopped rather than coated on the unit walls.
- Feed the disposal gradually. Small amounts of food scrap at a time allow the blades to grind effectively and reduce the chance of a jam.
- Avoid dumping fibrous materials and starchy food directly into the unit. These items wrap around the blades and create slow moving clogs.
- Rinse plates and pans into the trash or compost before scraping them over the sink. That removes large chunks that can strain the disposal.
Weekly and monthly checks you can do yourself
Spend five minutes each week on a quick inspection and a few extra minutes monthly on deeper cleaning. These tasks find small problems before they grow into major repairs.
Weekly check list
- Look under the sink for new signs of moisture or drips. Early detection saves cabinet damage.
- Listen for changes in the motor sound while the unit runs. New grinding or rattling may mean a foreign object or loose component.
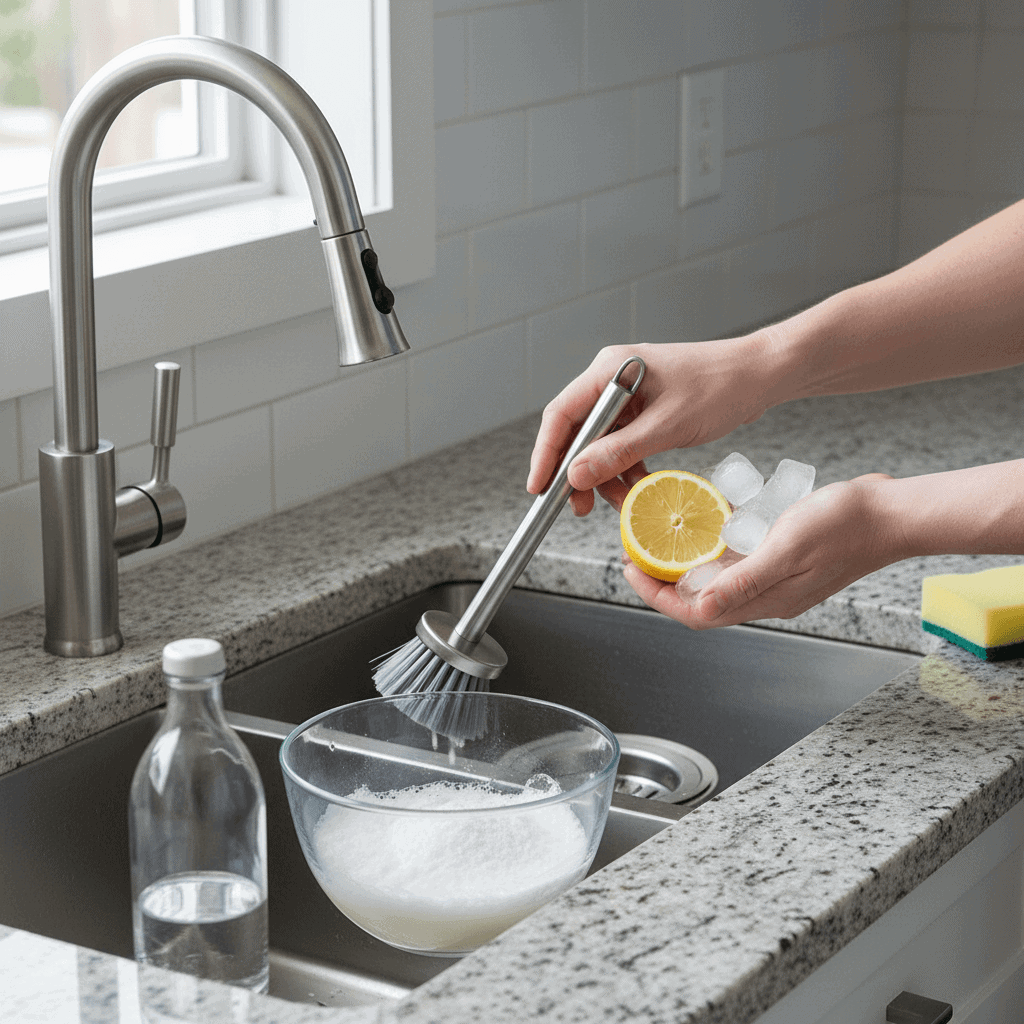
- Run the unit on cold water while grinding small citrus peels to clean interior surfaces and freshen odors.
Monthly cleaning steps
- Unplug the disposal or switch off its circuit before reaching into the sink. Safety first.
- Use an old toothbrush and mild dish soap to clean the rubber splash guard where grime collects.
- Place a few ice cubes and a half cup of coarse salt in the disposal and run cold water for about 20 seconds. The ice knocks loose stuck debris and the salt scours residue without harming metal.
Foods and items to avoid putting in the disposal
Knowing what not to feed the disposal is as important as knowing how to clean it. Some items cause immediate jams while others gradually build up residue.
High risk foods and materials
- Grease, oil, and fat of any type. These liquids coat the grinding chamber and congeal into a sticky mass.
- Corn husks, celery strings, onion skins, and artichoke leaves. Fibrous strands tangle around the impellers.
- Pasta and rice. These foods expand and create thick, glue like clogs further down the drain.
- Egg shells and coffee grounds. Fine particles may seem harmless but they can form gritty layers that reduce flow and dull blades over time.
- Non food items such as bottle caps, toothpicks, and small bones. These cause immediate damage or chips on grinding components.
How to handle minor jams and resets safely
Most jams are simple to fix with the right steps. Never put your hand inside the disposal unless the power is off and you have verified the unit cannot start.
- Switch the unit off at the wall and at the breaker if you are not sure of the wiring.
- Use a flashlight and pliers to carefully remove visible foreign objects from the grinding chamber.
- Many disposals include a hex key slot on the bottom. Insert the correct hex key and turn it back and forth to free stuck components. Follow your model manual for details.
- If the unit trips its internal overload, wait several minutes and then press the red reset button on the bottom. If it trips repeatedly do not keep resetting. That signals a larger problem that needs a technician.
How to tackle odors and minor buildup
Persistent smells usually come from trapped food in crevices. Deodorizing alone does not fix the cause. Combine cleaning with mechanical scrubbing for best results.
- Run cold water and grind citrus peels to add a natural scent and loosen grime.
- Mix baking soda and vinegar in the sink then let it fizz for a few minutes before running cold water and the disposal. This loosens organic buildup in the immediate pipe area.
- Disassemble the splash guard if your model permits and rinse it under warm water to remove trapped particles. Always check the manual before removing parts.
When maintenance is not enough and you need a professional
Some problems require a trained eye. If you find persistent leaks, repeated tripping, metal on metal noises, or significant loss of grinding power contact a plumbing company for a diagnosis. Timely service prevents secondary damage to the sink cabinet and surrounding plumbing.
For homeowners in Fort Worth an experienced local team can inspect the unit, replace worn components, and test the system after repair. If you prefer to bring in pros for inspection and repair you can learn about local options by exploring this page for garbage disposal repair services which lists technicians and booking information.
Tools and supplies worth keeping on hand
Having a few inexpensive tools makes routine care simpler and helps you address minor issues immediately.
- Hex key that fits your disposal model for manual freeing of jams.
- Small flashlight for inspections under the sink and inside the grinding chamber.
- Stiff brush or old toothbrush for cleaning the splash guard and tight surfaces.
- Rubber gloves and protective eyewear for safer handling when cleaning or removing debris.
- Baking soda and coarse salt for gentle abrasive cleaning that does not harm metal.
Energy use and efficient operation tips
While saving energy is not the main focus of maintenance a few steps lower power demands and reduce wear. Running the disposal only when you have a steady stream of water and food scrap to break up reduces motor idle time. Cold water use prevents fats from melting and moving deeper into the drain where they can create blockages that force the motor to work harder.
Limit run time to the minimum needed to grind and flush material. Many models are powerful enough to clear a sink in just a few seconds when used properly. Longer runs do not improve grinding and increase motor heat.
Routine care keeps your sink disposal working reliably and reduces the chance of a messy blockage or a repair bill. A regular schedule of daily habits weekly checks and monthly cleanings protects the unit and your plumbing. When you notice signs of trouble act promptly and consider professional help for persistent or complicated issues. Small preventive steps add up to years of solid performance and fewer surprises in the kitchen.
Ready to put these disposal maintenance tips into practice Keep a short checklist on your fridge with the daily weekly and monthly items. If you spot leaks strange noises or repeated trips contact a qualified plumber who can diagnose the issue and replace worn parts. For local repair contact options use the link above to find technicians who handle installations and repairs. Taking a few small steps today prevents a major inconvenience tomorrow and keeps your kitchen in good working order.